Glass etching
This tutorial can be done in a few different ways. I used two different methods, but it all depends on the supplies you have available and what you are looking to make.
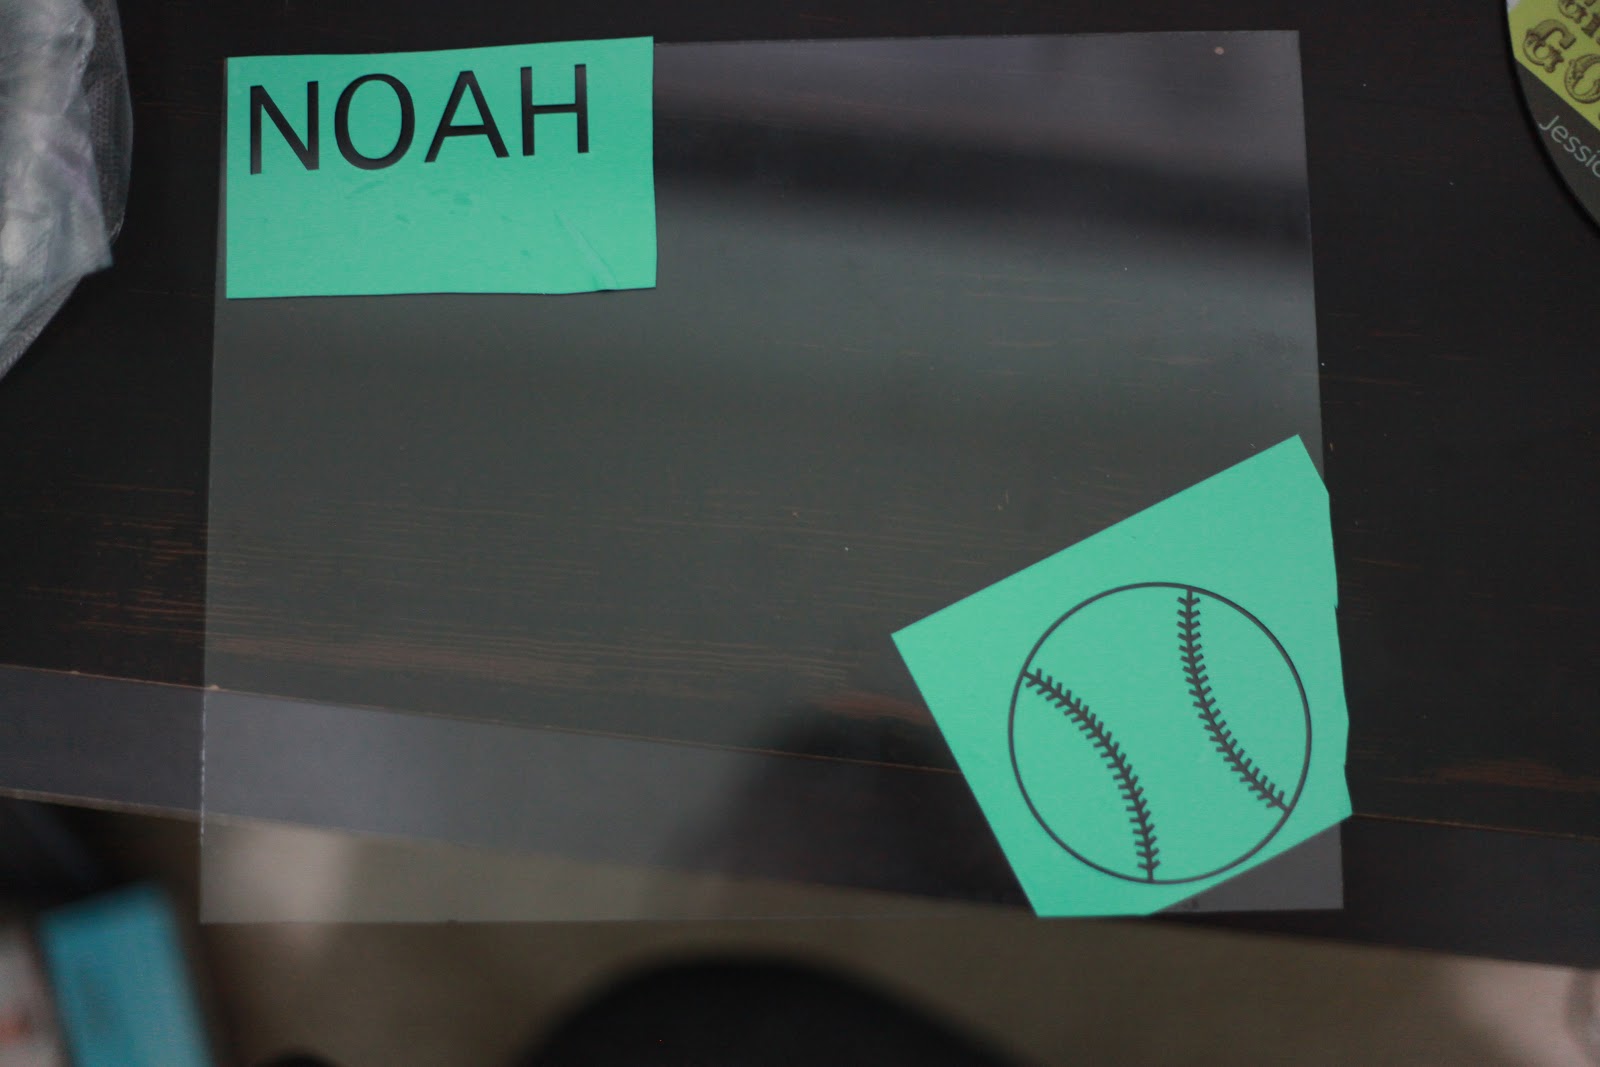
I started with a picture frame, glass etch, my Cameo, and some vinyl. I removed the glass from the frame and washed it with soap and water, then dried it off. Then I cut a baseball and the name Noah in vinyl using my Cameo. Usually when using the vinyl as a stencil for glass etching you want to use the negative piece. I peeled off the vinyl pieces from the areas I wanted etched. Then I placed the vinyl on the glass where I wanted the design. I repeated the step with the baseball.
Next I applied a generous amount of etching cream with a brush to the glass frame. Make sure you apply the etching cream evenly and in multiple directions to avoid any lines. also, it is a good idea to apply tape around the stencil if you need a larger working area.
I let the cream sit for 25 minutes then I washed it with soap and water. After all of the etching cream was washed off I removed my vinyl from the glass. Now I have a customized sports frame for my little buddy Noah!!
The second project I did the same way except I used a stencil from the Martha Stewart glass etching kit. I placed it around the top of a glass vase (I had to do it twice because the stencil was not long enough to do the entire vase at once!
Thanks for stopping by and checking this out! I will have another example of some glass etching ideas soon!


This looks like a fun and quick way to spiffy up some glass!!
ReplyDelete